How to install a kitchen sink
Installing a fully functional and suitable kitchen sink is a crucial step in creating an ideal kitchen. Whether it's during new home construction or kitchen remodeling, proper installation of the kitchen sink is essential. In this article, we will provide you with a concise kitchen sink installation guide to help you effortlessly complete the installation process and refresh your kitchen.
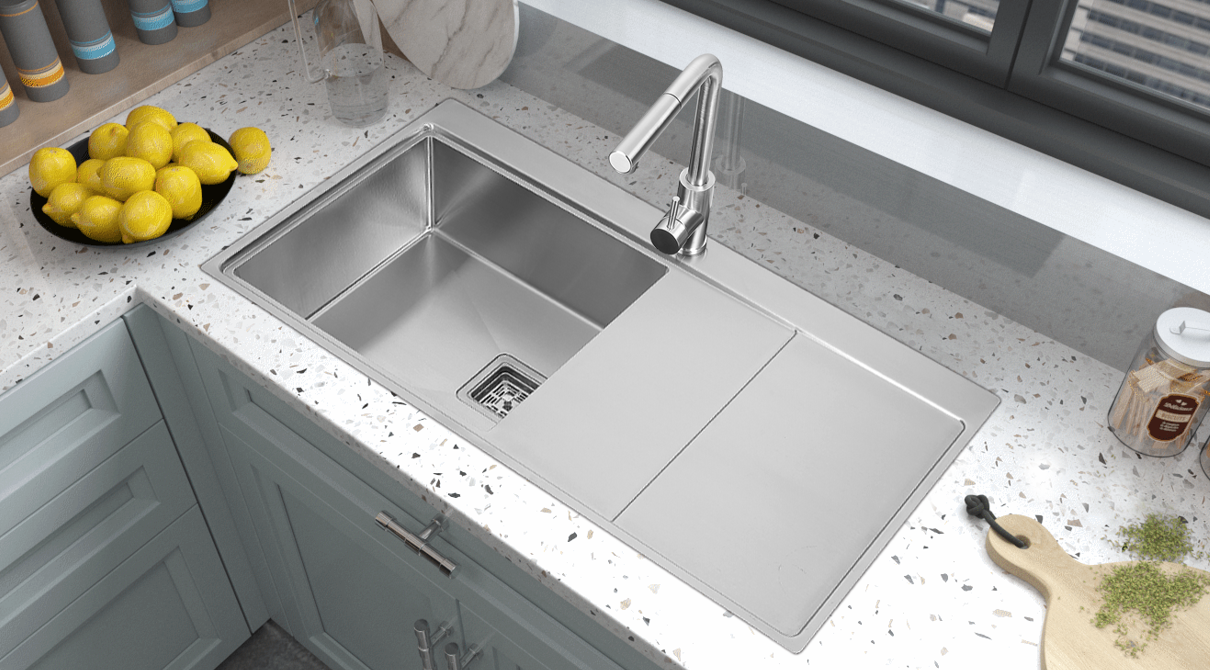
Step 1: Select the Right Sink
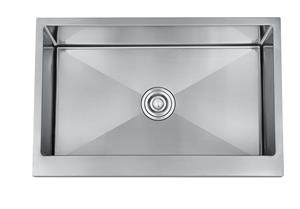
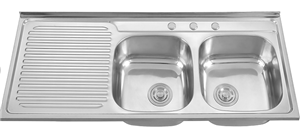
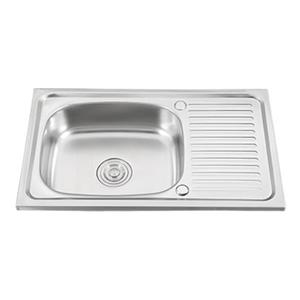
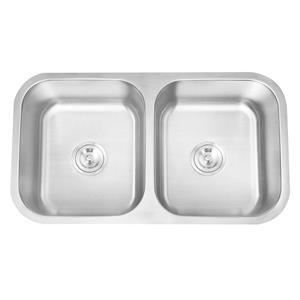
Before starting the installation, the first step is to choose the appropriate kitchen sink. Consider the size of your kitchen space, the dimensions and shape of the sink, and the installation method. There are single-bowl, double-bowl, and triple-bowl sinks available in the market, along with different materials like stainless steel, ceramic, and quartz. Select a sink that suits your needs and matches the overall design of your kitchen.
Step 2: Prepare Installation Materials and Tools
Before installing the sink, ensure that you have all the necessary installation materials and tools. Typically, you may need sink clamps, sealant, screws, and a screwdriver. Additionally, it is recommended to have some additional materials on hand, such as water pipes and drainage pipes, for any unforeseen requirements.
Step 3: Measure and Mark
Before installation, use a tape measure to determine the dimensions of the sink and mark its position on the kitchen countertop. Ensure that the sink's size and placement align with the countertop and do not conflict with other kitchen fixtures and pipes.
Step 4: Install the Sink
Firstly, place the sink in the pre-marked position, ensuring a tight fit against the countertop. Then, use sink clamps to secure the sink to the countertop. Ensure that the sink is installed securely without any wobbling or looseness.
Step 5: Connect Water and Drainage Pipes
Next, connect the sink's water supply pipes and drainage pipes. Depending on the sink's design and the kitchen layout, make proper connections for the sink's water pipes and drainage pipes. Ensure that all connections are sealed properly to avoid any leaks.
Step 6: Test and Adjust
After completing the installation, turn on the faucet and open the drain to test the sink's functionality. Check for any leaks or seepage. If any issues are found, promptly make adjustments and repairs.
Conclusion:
Installing a kitchen sink may require some skills and preparation, but the right installation will bring convenience and aesthetics to your kitchen. By selecting the appropriate sink, preparing the necessary materials and tools, and following the correct installation steps, you can easily complete the installation process. Not only will you enjoy a high-quality kitchen experience, but you will also add a touch of sophistication and comfort to your home.

